
Good morning everyone,
This is Maansi here again with a project on decoupage. By now you would have guessed that I am completely obsessed with this art form. And rightly so, because this is one craft form which is so versatile.
One day while opening up a bar of soap, I wondered about whether a humble soap can be decoupaged. It's white and has a smooth surface and though the surface is small, small projects can still be done. A quick search on the web and some books made me realise that it is possible to do so.
The next major question was would the soap be usable. No point in decoupaging a soap which cannot be used. So as an experiment I decided to do one soap and use it to see the results. And I was amazed. Not only was the soap usable but it also increased the life of the soap. And the image remains till the soap lasts.
And since then, I have be decorating all my soaps much to the amusement of my hubby.
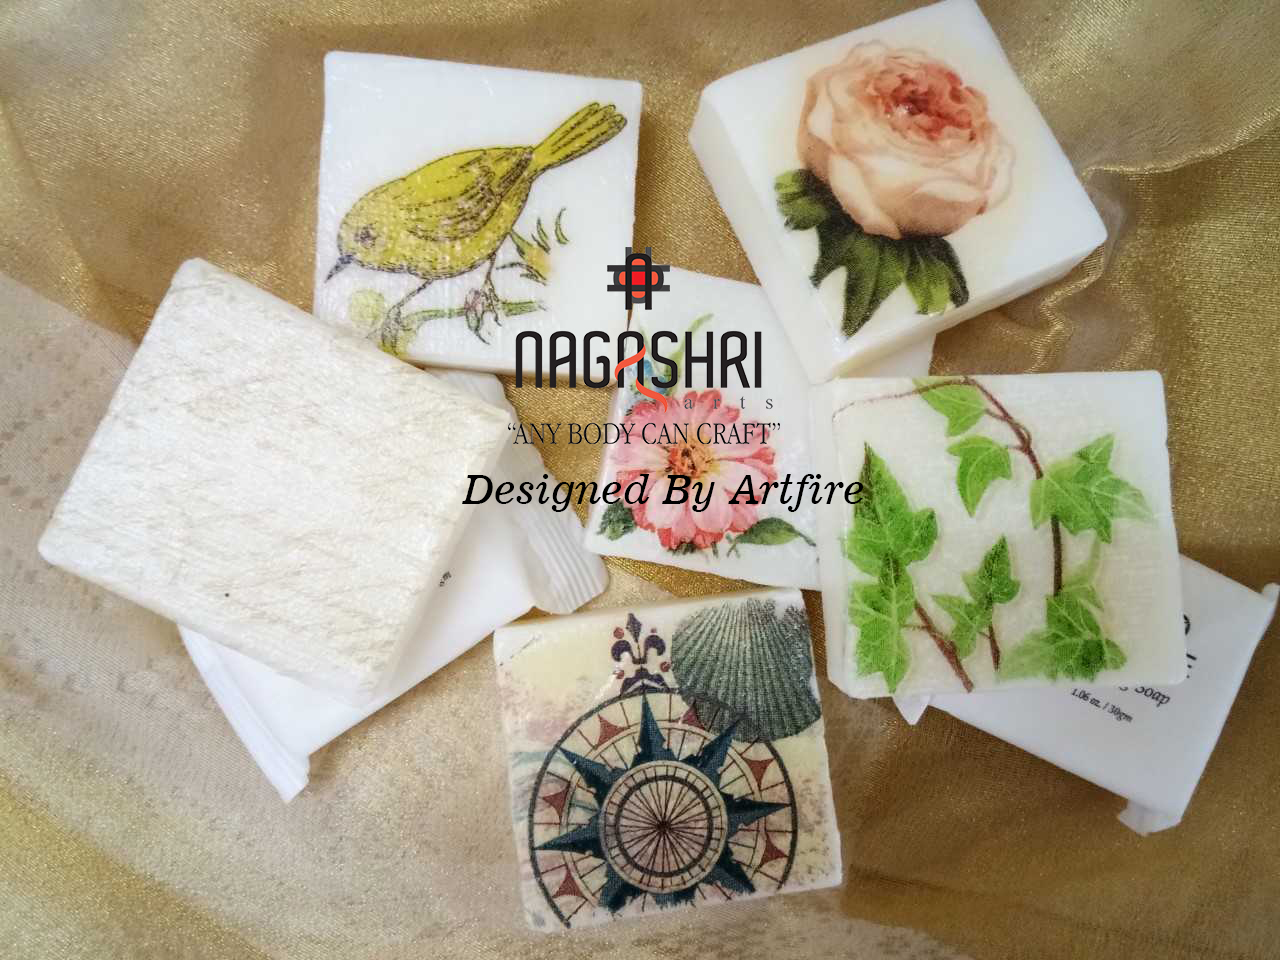
Here are some pictures of the soaps that I have recently done.


Now coming to the procedure of doing decoupage on soaps.
1. Take a bar of soap. Ensure its smooth and does not have a logo or image engraved.
2. Select image to fit the surface. Try using tissues with a white background. The image needs to ripped and not cut and we will be using only the top layer of the napkin
3. Add a thin layer of mod podge on the surface of the soap. While the glue is still wet gently put the tissue on the soap. Note that you are gentle yet firm while putting the tissue. Do not put too much pressure as you could damage the surface. Also note your brush needs to be completely dry in this process.
4. Wait for the glue to dry completely. Add another 3 layers of glue on top of the tissue (drying between each layer)
And your decoupage soap is ready to use.


Supplies used
Soap
Decoupage tissues
Modpodge
This is Maansi here again with a project on decoupage. By now you would have guessed that I am completely obsessed with this art form. And rightly so, because this is one craft form which is so versatile.
One day while opening up a bar of soap, I wondered about whether a humble soap can be decoupaged. It's white and has a smooth surface and though the surface is small, small projects can still be done. A quick search on the web and some books made me realise that it is possible to do so.
The next major question was would the soap be usable. No point in decoupaging a soap which cannot be used. So as an experiment I decided to do one soap and use it to see the results. And I was amazed. Not only was the soap usable but it also increased the life of the soap. And the image remains till the soap lasts.
And since then, I have be decorating all my soaps much to the amusement of my hubby.
Here are some pictures of the soaps that I have recently done.


Now coming to the procedure of doing decoupage on soaps.
1. Take a bar of soap. Ensure its smooth and does not have a logo or image engraved.
2. Select image to fit the surface. Try using tissues with a white background. The image needs to ripped and not cut and we will be using only the top layer of the napkin
3. Add a thin layer of mod podge on the surface of the soap. While the glue is still wet gently put the tissue on the soap. Note that you are gentle yet firm while putting the tissue. Do not put too much pressure as you could damage the surface. Also note your brush needs to be completely dry in this process.
4. Wait for the glue to dry completely. Add another 3 layers of glue on top of the tissue (drying between each layer)
And your decoupage soap is ready to use.

Supplies used
Soap
Decoupage tissues
Modpodge
No comments:
Post a Comment